In the rapidly evolving landscape of DevOps and software engineering, workflow automation is no longer a luxury—it is a necessity. If you are looking to streamline complex API integrations or deploy autonomous AI agents without writing boilerplate code, the N8N register process is your gateway to efficiency.
Unlike traditional automation platforms like Zapier or Make, n8n offers a fair-code, node-based architecture that gives developers granular control over data flow and execution. This guide will walk you through the N8N sign up procedure, explain the differences between Cloud and self-hosted versions, and help you deploy your first automation workflow in minutes.
Why Developers Choose n8n for Workflow Automation
Before we dive into the registration steps, it is crucial to understand why n8n has become the de-facto standard for technical users. While other platforms hide the logic behind a “black box,” n8n visualizes logic through a flowchart-based interface that supports JavaScript and Python execution.
Here is why you should create an n8n account today:
- Node-Based Architecture: Visualize complex logic with conditional branching, loops, and error handling.
- AI Agent Capabilities: Native integration with LangChain and OpenAI, allowing you to build an n8n AI agent with memory and tools.
- Self-Hostable: For strict data privacy requirements, you can self-host n8n on your own infrastructure (Docker/Kubernetes).
- 800+ Integrations: Connect everything from PostgreSQL and Redis to Slack and GitHub.
“n8n allows you to build complex workflows that implement custom logic and data manipulation, something that is often restricted in other low-code platforms.” — G2 Crowd, 2024
Step-by-Step Guide: How to Complete N8N Sign Up
The n8n account registration process is streamlined to get you from zero to automation in under two minutes. Follow these steps to access the n8n Cloud environment.
-
Navigate to the Registration Portal
To ensure you are accessing the secure, official platform, use the link below to start the process.
-
Enter Your Credentials
Once on the landing page, you will be prompted to enter your professional email address and create a secure password. As a developer, you know the importance of security—ensure your password meets the complexity requirements (uppercase, lowercase, numbers, and special symbols).
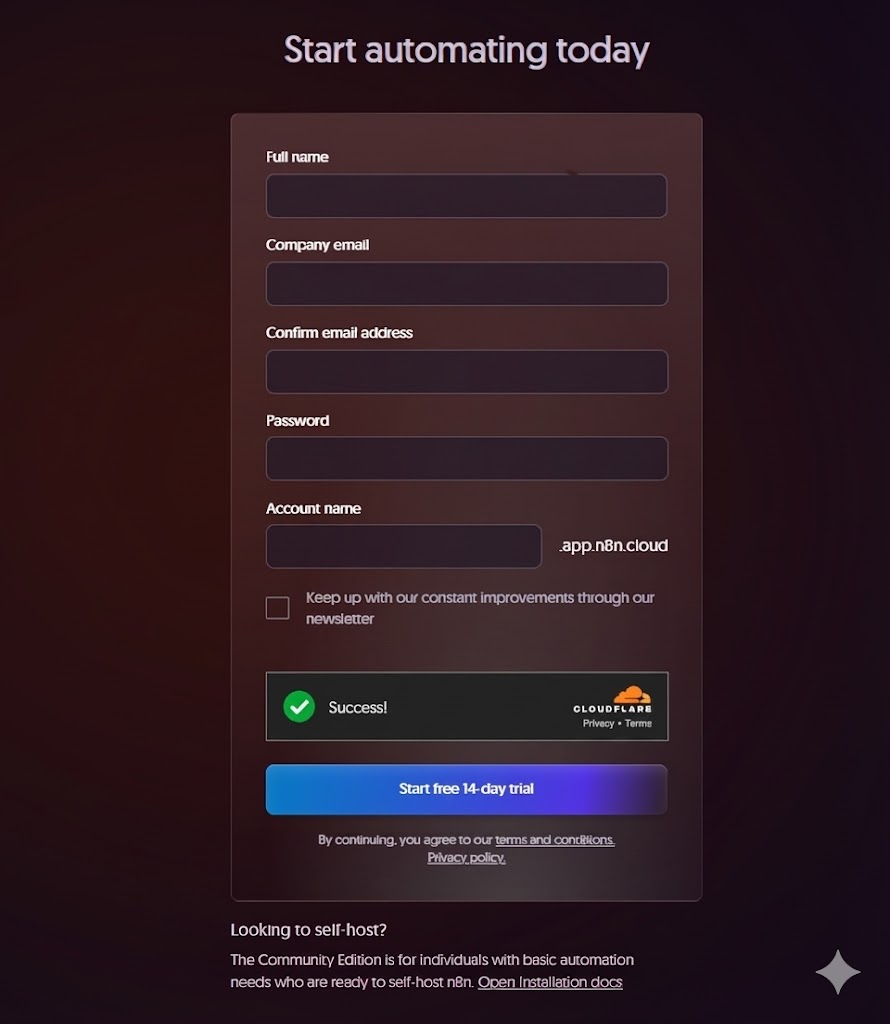
The initial step of the n8n account registration process requires basic credentials. -
Email Verification
After submitting the form, n8n will send a verification code to your email. This step is mandatory to activate your n8n cloud register profile and prevent bot accounts.
-
Workspace Configuration
Upon successful verification, you will be directed to the workspace setup. Here, you can personalize your domain (e.g.,
company-name.n8n.cloud). This is unique to your instance and is useful for webhook endpoints.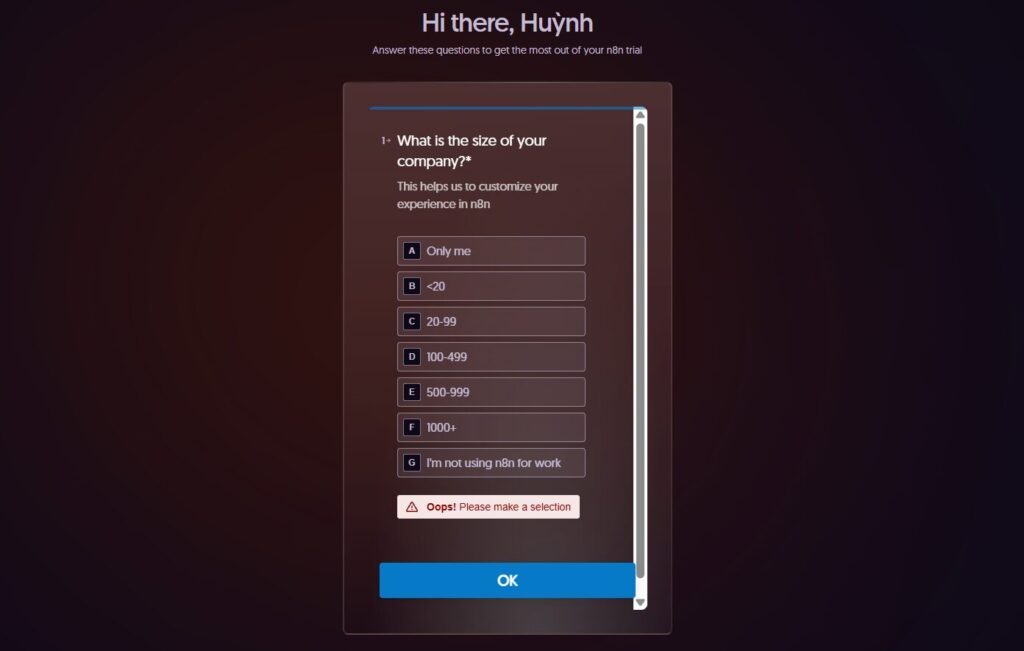
Customize your workspace URL for easier webhook management.
n8n Cloud Register vs. Self-Hosted: What Developers Need to Know
When you n8n sign up, you are primarily creating an account for the Cloud version. However, n8n is famous for being “fair-code.”
| Feature | n8n Cloud | Self-Hosted |
|---|---|---|
| Setup Time | Instant (via n8n login) | High (Requires Docker/Server) |
| Maintenance | Managed by n8n | Managed by You |
| Scaling | Auto-scaling | Manual resource allocation |
| Cost | Subscription-based | Free (Community) / Paid (Enterprise) |
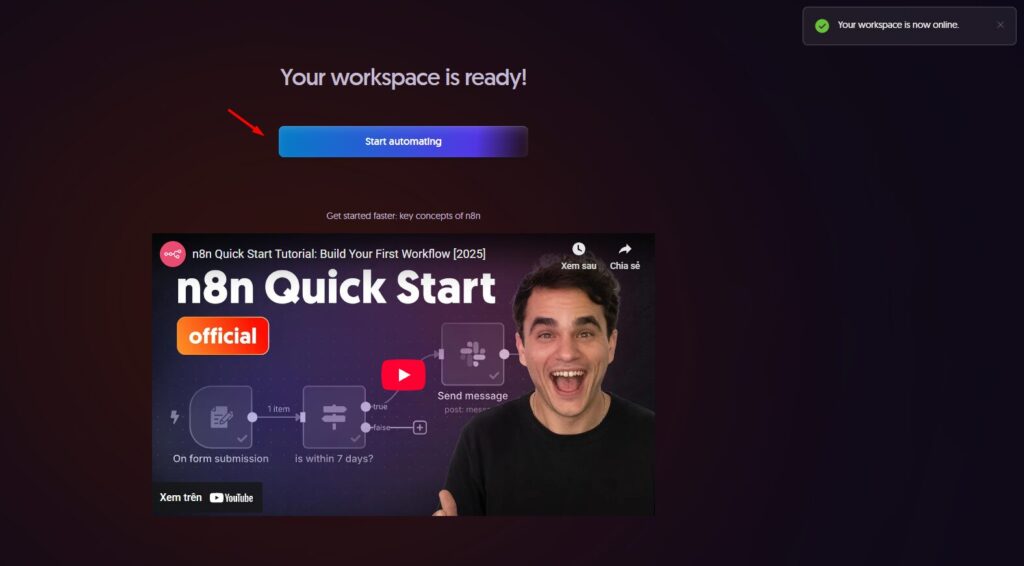
First Steps After Registration: Building Your First Workflow
Once you have completed the n8n create account process, you will land on the canvas. This is where the magic happens.
The Workflow Editor
The editor is where you drag and drop nodes. You initiate a workflow with a “Trigger” (like a Schedule, Webhook, or App Event) and connect it to “Action” nodes.
Creating an AI Agent
One of the most powerful features available immediately after n8n signup is the AI Agent node.
- Add an AI Agent node to your canvas.
- Connect a Chat Model (like OpenAI GPT-4).
- Connect Window Memory (to remember context).
- Add Tools (like Wikipedia or Calculator).
This modular approach allows you to build sophisticated LLM-powered applications in minutes.
Read our detailed guide on n8n setup and configuration
Troubleshooting Common n8n Account Registration Issues
Occasionally, users may encounter hurdles during the n8n register process. Here are common solutions:
Why didn’t I receive the verification email?
Check your spam folder. If you are using a corporate firewall, whitelist the @n8n.io domain.
I’m getting an “Account Already Exists” error.
You may have previously created an account. Try the n8n login page to reset your password.
Why was my credit card declined?
While n8n offers a free trial, verification sometimes requires a valid card. Ensure your bank allows international transactions if you are outside the EU/US.
Conclusion
Completing the N8N register process is the first step toward reclaiming your time and building scalable, intelligent automation systems. Whether you are an individual developer automating daily tasks or a software engineer orchestrating microservices, n8n provides the flexibility and power you need.
Don’t wait to modernize your workflow. N8N sign up takes less than two minutes, but the efficiency gains last forever.
Ready to Automate?
Join thousands of developers building smart AI agents today.
Create Your Free n8n Account Now